FOR IMMEDIATE RELEASE
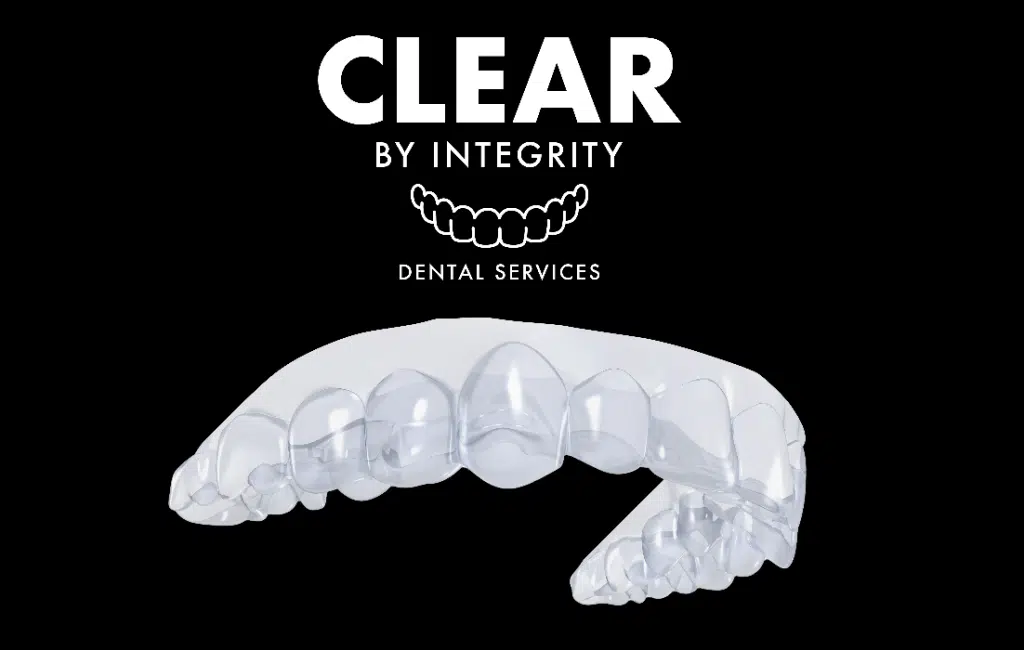
Integrity Dental Services Announces the Launch of Revolutionary Clear Aligners: “CLEAR by Integrity”
Atlanta, Georgia — November 28, 2023 – Integrity Dental Services, a renowned national dental laboratory, is thrilled to announce the launch of its latest innovation in dental care: “CLEAR by Integrity,” a new line of clear aligners. This groundbreaking product is set to redefine orthodontic treatment by offering a perfect blend of comfort, convenience, and effectiveness.
“CLEAR by Integrity” aligners are designed using state-of-the-art technology to ensure a precise, comfortable fit. Crafted from medical-grade materials, these aligners promise a virtually invisible way to straighten teeth without the hassles of traditional braces.
“At Integrity Dental Services, we are committed to providing cutting-edge dental solutions. ‘CLEAR by Integrity’ is a testament to our dedication to excellence and innovation in dental care. These aligners are not only effective but also offer our customers the comfort and discretion they desire,” said Rob Dinker, Founder and CEO of Integrity Dental Services.
Key features of “CLEAR by Integrity” aligners include:
Clear By Integrity doctors already enjoy a significantly lower revision rate than the other providers. We confidently stand behind the effectiveness of our product and its superiority. We want to go even further in our commitment to you, therefore Integrity limits your risk, so you can maximize your profits. So, we’ve included everything you need to maximize your success!
Max Comfort BioProgressive Aligners
Our exclusive Bio-Progressive Max Comfort aligners are more comfortable, more predictable and more efficient. The progressive treatment from Soft to Medium and to Hard is the most advanced treatment for aligner therapy.
DentalMonitoring
Industry-leading technology that enables patients to submit weekly scans from the comfort of their own home using their smartphones. Now together we will have weekly insight into patient progress, and the Integrity team will monitor it for you!
Unlimited Refreshes (mid-treatment)
Our unique Refresh Solution has been saving doctors and patients time and money for years. How? By avoiding full revisions in most cases. Get them back on track without the added expense and logistics of taking additional impressions.
Clear By Integrity proprietary formula for retainers
The cost of retainers from other providers has gotten quite expensive. Frequently patients are disappointed with an additional ongoing cost. We now will provide THREE sets of retainers with EVERY case for no additional cost!
Simplified all-in-one pricing
Streamlined pricing to provide a fixed price based on three case severity levels — Mild, Moderate or Complex. Your costs are easier to predict than ever before while protecting your bottom line from non-compliant patients.
Integrity Dental Services is excited to invite dental professionals and patients to explore “CLEAR by Integrity” on their new dedicated website: [clear.integritydentalservice.com](http://clear.integritydentalservice.com).
The website provides comprehensive information about the product, treatment process, and how to get started with “CLEAR by Integrity.”
For more information, please contact:
Kenneth Niquette
Chief Marketing Officer
info@integritydentalservice.com
470-222-2902
About Integrity Dental Services:
Integrity Dental Services is a leading dental laboratory known for its commitment to quality and innovation. With a focus on creating advanced dental solutions, Integrity Dental Services continues to set the standard in the dental industry.
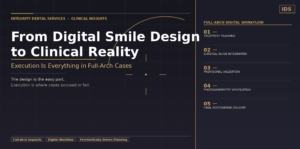
A practical guide to capturing the scans, verification records, photographs, and case details IDS needs for a complete digital workflow
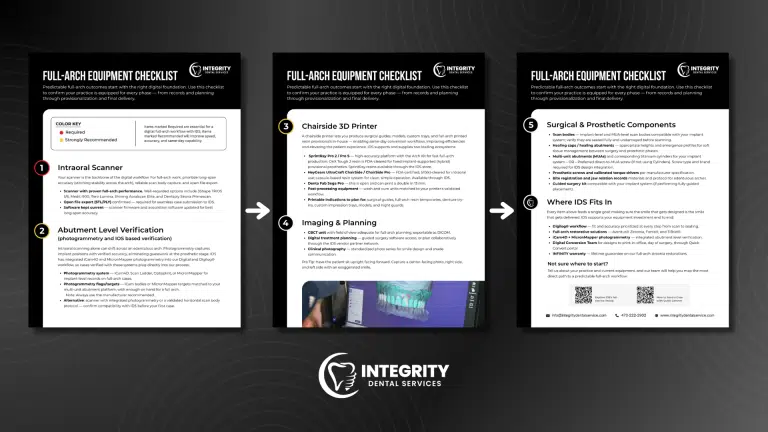
A full-arch dental equipment checklist is most useful when it functions as a clinical control point, not simply a shopping list. Used before, during, and after an All-on-X (AOX) appointment, it helps the team confirm that the equipment, components, and records required for the selected workflow are available and that the resulting data can be transferred to Integrity Dental Services (IDS) in a usable form.
Clinical note: The checklist supports data capture and team standardization. Clinical decisions, component selection, torque values, resin use, and device operation should follow the treating clinician’s judgment and the applicable manufacturer instructions.
Why the checklist belongs in the clinical workflow
Full-arch cases combine anatomical records, prosthetic references, implant-position data, and workflow-specific components. A missing bite, an incomplete soft-tissue scan, an unidentified screw type, or a verification file that cannot be matched to the multi-unit abutment platform can interrupt the design process even when the surgery itself went as planned.
The IDS checklist brings those dependencies into one preflight review. It connects five equipment categories—intraoral scanning, abutment-level verification, chairside printing, imaging and planning, and surgical/prosthetic components—to the records required in the IDS Digital AOX Workflow Guide. The benefit is not the checklist alone. The benefit is using it to create continuity from the planned restoration to the data acquired chairside and the files received by the laboratory.
Start by defining the case pathway
Before the appointment, identify the patient’s starting condition and the verification method the team will use. This determines which checklist items must be present and which records should be captured. The IDS workflow distinguishes among patients with stable articulation, patients using a removable partial denture to establish support or vertical dimension, and fully or singly edentulous patients. It also separates immediate postoperative workflows from healed data acquisition.
Document the intended workflow type, fabrication method, prosthetic interface, and verification approach before treatment. For example, record whether the case will use segmentation, fiduciary markers, X-Nav, an MUA guide wash, or another method; whether the provisional will be printed or milled in-office or by the lab; whether the interface is direct-to-MUA or Ti-base; and whether verification will be photogrammetry-based or IOS-based. This short planning step turns the equipment checklist into a case-specific setup list.
The intraoral scanner is the foundation of the digital record. For full-arch work, confirm long-span scanning performance, stable scan-body capture, current acquisition software, and open-file export. IDS requires an exportable STL or PLY file for a seamless digital submission. If your scanner, software, or export process is new to the team, test the transfer before the clinical appointment rather than discovering an access or format problem after records have been acquired.
Clinically, use the scanner to capture the anatomy that will support alignment and articulation, not only the area receiving the restoration. Extend arch scans fully, review the capture for voids or stitching errors, and confirm that the bite aligns with both arches before dismissing the patient. In edentulous situations, recognize that a conventional intraoral arch scan may not provide enough stable geometry by itself; the workflow may require a denture scan, wash impression, fiduciary-marker reference, MUA wash, or another validated alignment method.
An edentulous arch can accumulate stitching drift during intraoral scanning. The checklist therefore calls for an abutment-level verification method such as photogrammetry or a validated IOS-based protocol. IDS integrates iCam4D and MicronMapper photogrammetry into its digital and Digilog® workflows and also identifies IOS-based examples such as scan ladders, Optisplint, TruAbutment IO Connect, and Straumann Exact scan bodies.
Before the appointment, confirm that the verification system is compatible with IDS and with the selected implant or multi-unit abutment platform. Inventory the manufacturer-recommended flags, targets, caps, or scan bodies in sufficient quantity for a full arch. At capture, verify that every component is fully seated, clean, undamaged, and correctly identified. Save the complete photogrammetry data folder or the complete scan-body folder rather than a single screenshot or isolated mesh. The laboratory needs the verification dataset and the component identity to interpret implant positions correctly.
A chairside 3D printer can support surgical guides, models, custom trays, denture try-ins, and printed resin provisionals. Its clinical value depends on a validated production chain: the printer, indication-appropriate material, wash and cure equipment, current software, and a team that can complete post-processing according to the manufacturer’s instructions.
Use the checklist to decide where fabrication will occur before the case begins. If the provisional will be produced in-office, confirm the validated material, available build capacity, post-processing equipment, and the handoff from the IDS design file to the printer. If IDS will print or mill the restoration, record that choice on the prescription so the laboratory can route the case correctly. A printer should expand a defined workflow, not create an assumption that every case must be converted chairside.
For guided planning, the checklist calls for a CBCT with an adequate field of view and exportable DICOM data, along with access to planning software or a collaborative planning pathway. Confirm that the imaging protocol matches the selected surgical workflow and that required scans can be associated with the correct patient and prescription.
Photography carries the facial and prosthetic references that digital geometry alone may not communicate. The IDS AOX guide requires a full-face, centered smile photograph with the prosthesis in place and a centered retracted photograph, particularly when limited tooth structure is available for IOS alignment. The equipment checklist also recommends a standardized center, right, and left series with the patient upright, facing forward, and showing an exaggerated smile. Review images immediately for orientation, focus, exposure, and visible landmarks.
The final equipment category prevents small component gaps from becoming large workflow interruptions. Confirm that implant-level and MUA-level scan bodies match the planned system. Stage the appropriate healing caps or healing abutments, MUAs, titanium cylinders or the preferred direct-to-MUA screws, prosthetic screws, and calibrated torque drivers. Record the component manufacturer, interface, screw type, and brand required for IDS design integration.
Also prepare the materials and protocol needed to establish jaw relation on an edentulous arch. A complete implant-position record cannot compensate for an unstable or unverified occlusal relationship. The goal is to acquire implant position, tissue, arch form, occlusion, and facial reference as a coordinated dataset.
Capture the correct preoperative records
Once the equipment has been matched to the case pathway, use the IDS guide to capture the starting condition. Every submission should include a completed, precise prescription form.
Stable articulation
Removable partial denture
Fully or singly edentulous
Complete the postoperative or healed record set
Postoperative capture must match the selected alignment and verification method. For an X-Nav workflow, the IDS guide calls for photogrammetry data corresponding to the preoperative records and soft-tissue scans with the specified caps. For a fiduciary-marker technique, include the preoperative scan with markers, the anatomical reference used for alignment—teeth or soft tissue—and either the complete photogrammetry data folder or the complete IOS-based verification and scan-body folder.
For an MUA guide wash technique, provide photogrammetry or the selected IOS-based verification. A single-arch submission includes a 360-degree scan of the MUA wash, the opposing arch, and an intraoral bite. A dual-arch submission includes 360-degree scans of the upper and lower MUA washes in occlusion. For segmentation, include the preoperative CBCT, postoperative CBCT with the applicable radiopaque scan body or cap, and verification-system details when available.
For a healed workflow, provide upper and lower arch scans with full extension, a bite scan, and the complete verification dataset. Again, the verification files must arrive with enough information to identify the system and relate the data to the chosen components.
Run a final clinical-to-lab handoff check
Before uploading the case, have one team member who did not perform the capture review the package. A fresh review often catches missing files, unclear labels, or a discrepancy between the prescription and the acquired records. Confirm the following:
12. Can IDS identify the patient, arch, workflow type, fabrication method, interface, component manufacturer, and screw type from the prescription?
13. Do the arch scans, bite records, photographs, and verification data describe the same planned position and vertical relationship?
14. Is the complete photogrammetry or IOS-verification folder included, with its corresponding soft-tissue or alignment record?
15. Have all STL, PLY, DICOM, image, and supporting files been opened and checked before transfer?
Consistent folder names can make the submission easier to review. Use plain, descriptive labels such as Pre-op Upper, Pre-op Lower, Bite Right, Bite Left, Photogrammetry, Soft Tissue, Denture 360, MUA Wash, CBCT, and Photos. Follow the IDS submission instructions and scanner-specific connection process for the actual transfer.

What the practice gains from using the checklist
Used consistently, the checklist creates practical benefits for both the clinical team and the laboratory:
16.Fewer avoidable clarification loops. A completed prescription and coordinated record set reduce the need to reconstruct the intended workflow after the appointment.
17.Better continuity from planning to design. The scan, bite, facial references, verification data, and component details remain tied to one case pathway.
18.A repeatable team standard. Assistants, doctors, and laboratory partners can use the same checkpoints for setup, acquisition, quality control, and transfer.
19.Earlier identification of workflow gaps. Compatibility, inventory, export access, and fabrication decisions are resolved before they become chairside problems.
20.A more reviewable IDS submission. Clearly labeled, complete data helps the IDS team evaluate the case against the prescription and chosen verification method.
Make the checklist part of the case, not an afterthought
The most effective full-arch equipment checklist follows the patient through the workflow. Use it during scheduling to confirm capability, during setup to stage components, during the appointment to guide capture, and before submission to verify the handoff. That discipline helps protect the quality of the information on which the restoration will be designed.
Before your first IDS case with a new scanner, photogrammetry system, IOS-based verification protocol, or chairside production pathway, contact the IDS team to confirm compatibility and submission requirements. Bring the checklist to that conversation so the clinical and laboratory teams can map the most direct workflow for your equipment and case type.
Next step | Download the Full-Arch Equipment Checklist and review your planned AOX workflow with IDS at info@integritydentalservice.com or 470-222-2902.
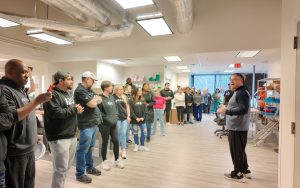
When most people think of a dental laboratory, they picture machines, materials, and technicians crafting restorations behind the scenes. But at Integrity Dental Services, there’s
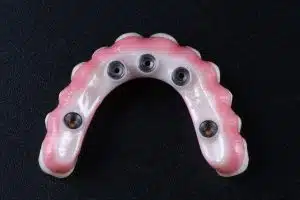
Integrity Dental Services proudly introduces Aventus® Zirconia, a premier solution crafted for full-arch restorations that require exceptional strength and aesthetic beauty. As a leading dental

Duluth, GA – October 21, 2024 — Integrity Dental Services is pleased to announce that Tim Matyaszek has joined the company as the Senior District

Duluth, GA – July 12, 2024 – Integrity Dental Services is proud to announce the appointment of Shane Treadaway as the new Chief Sales Officer.